How to Level a Blackstone Griddle
As an Amazon Associate I earn from qualifying purchases.
Are you excited to start grilling your burgers or whipping up some pancakes on a blackstone griddle? It can be intimidating at first – there are so many buttons and dials! But don’t let that scare you away. Leveling a Blackstone griddle is actually easy once you get the hang of it. To help simplify the process, we’ll give you an overview of what needs to happen before using one: from properly leveling your surface to ensuring everything’s tightly secured and taking important safety precautions—we’ve covered it all in this blog post. Let’s get started with how to level a Blackstone Griddle!
Gather the necessary tools for leveling your griddle (level, hammer, and screws)
Before you even start, make sure to have all the necessary tools handy—a level, a hammer, and several screws. Having these supplies ready beforehand will save you some time and effort in the long run.
The most important tool is a good quality level. This will ensure that your griddle is perfectly leveled before cooking. It’s important to use a level that is larger than your griddle so that you can accurately measure the surface.
Next, have a hammer handy in case any of the screws need tightening or if there are any obstructions on the griddle. This will help make sure everything is securely fastened and evenly distributed across the surface.
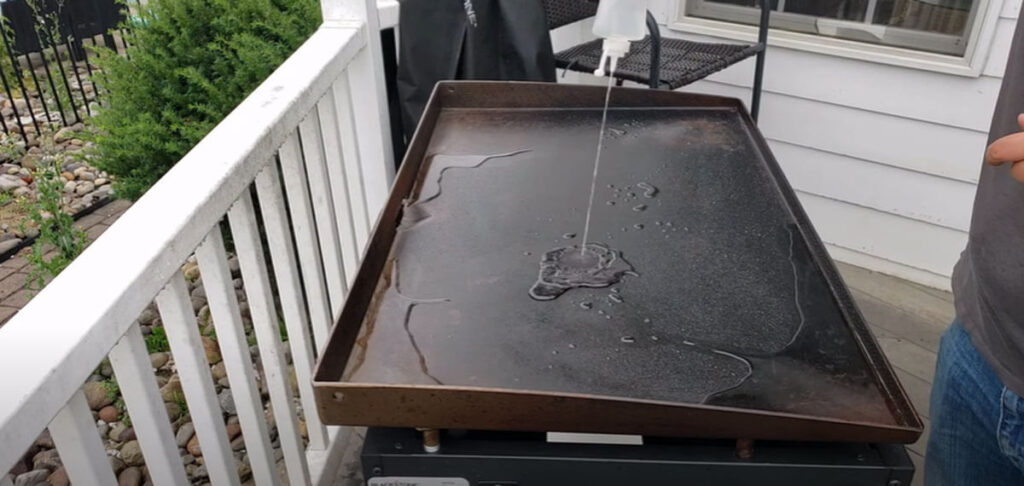
Place the level on top of the griddle and check for unevenness.
Once all the necessary tools are ready, it’s time to level the griddle. Start by placing the level on top of the griddle and check for any unevenness. If there is an issue, adjust your screws until the surface is completely leveled.
By moving the screws slightly, you can easily make a difference in how even your griddle is. This should be done carefully, as too much force can cause damage to the screws or the griddle itself.
Also Raed: Can you use pam on a blackstone griddle?
Adjust the legs of the griddle using a hammer to even out any high or low spots.
If your griddle has adjustable legs, you can use a hammer to even out any high or low spots on the surface. This is done by carefully tapping the screws with the hammer until they are properly adjusted to meet the desired level of evenness.
When adjusting the legs, make sure to check that all four sides are leveled and evenly distributed. If any one side is higher or lower than the others, adjust the screws until they are all even. This will help prevent any unwanted accidents and ensure that your griddle is level and safe to use.
Repeat this process until all four legs are leveled evenly.
Once the legs are adjusted correctly, it’s time to check the surface for any remaining unevenness. Place your level on top of the griddle and repeat this process until all four sides are leveled evenly. This can take a few tries, so be patient and adjust the screws slowly and carefully.
Double-check that your griddle is evenly balanced with the level.
Lastly, double-check that your griddle is evenly balanced with the level. This will ensure that you’ve achieved the desired level of evenness and can start cooking without any worry.
Secure each leg with screws to ensure that it stays in place during use.
Once you’ve completed the leveling process, it’s important to secure each leg by tightening the screws. This will ensure that your griddle stays in place during use and won’t move around as you cook.
With these simple steps, you now know how to level a Blackstone Griddle! Now that you know how to level your griddle properly, the possibilities are endless. So get ready to start dishing out delicious meals on a perfectly even surface. Enjoy!
Read More: How to Cook Hashbrowns on a Griddle
Conclusion
Leveling a Blackstone griddle is a simple task that will help you get the most out of your cooking experience. Doing so may seem intimidating, but following the techniques we’ve outlined in this blog post make it much less so. From utilizing a bubble level to checking and adjusting each of the griddle legs- taking some time to ensure your Blackstone Griddle is level can save you from future headaches.
Don’t be afraid to try new techniques- you won’t know until you give it a shot! Just remember that these tips are only meant as guides, and you should always adjust depending on the specificities of your own situation. Finding what works best for you is essential, even when talking about leveling your griddle!
Amazon and the Amazon logo are trademarks of Amazon.com, Inc, or its affiliates.